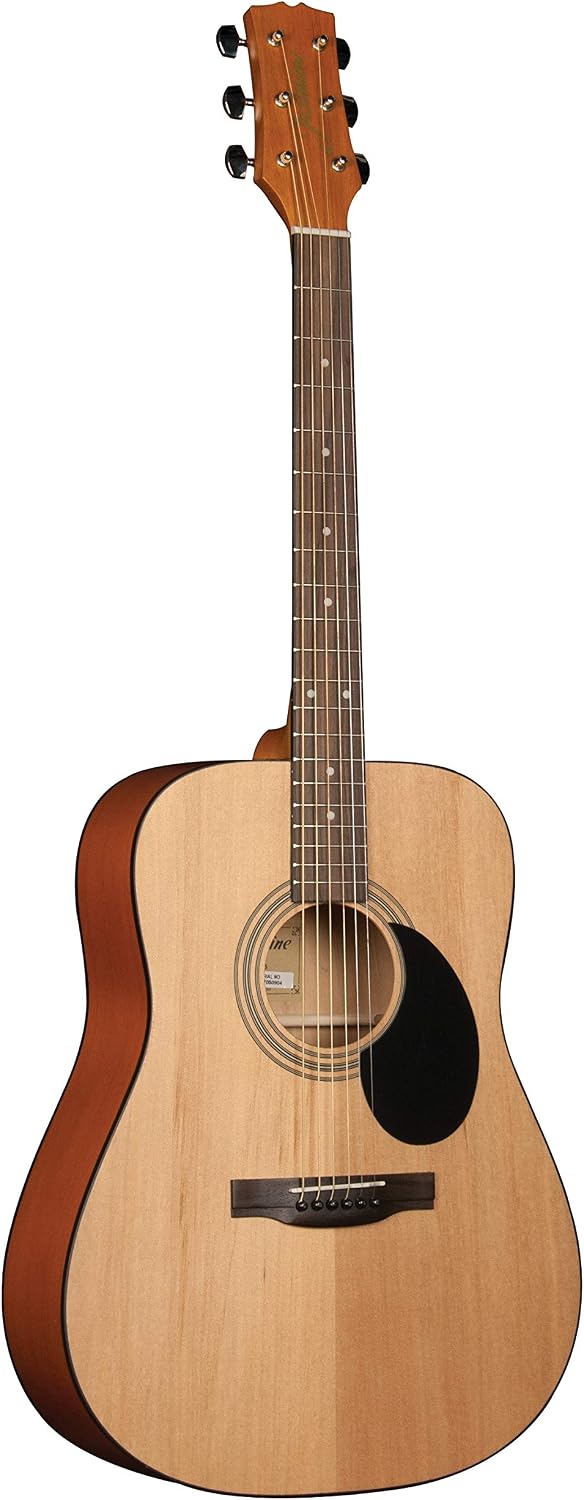
You unbox your new guitar, tune it up, and play your first chord — and it sounds a little off. Pressing the strings down feels harder than you expected. Maybe a few notes buzz, or maybe the guitar sounds fine open but goes weirdly out of tune the moment you fret a chord up the neck. You start to wonder if you bought a lemon.
Here’s the thing most music stores and product listings never mention: the vast majority of new guitars — at every price point, but especially in the $100–$400 range — ship in a playable but not optimized state. “Action” (the distance between your strings and the fretboard), “truss rod tension” (a metal rod inside the neck that controls its curve), and “intonation” (whether the guitar stays in tune as you move up the fretboard) all need to be dialed in for your climate, your string gauge, and your playing style. This guide walks you through what each adjustment means, when you should attempt it yourself, and when it’s worth handing the guitar to a professional — so you can make a clear, confident decision rather than leaving a one-star review on a guitar that just needed twenty minutes of attention.
Why Factory Setup Is Almost Never “Done”
Guitars are made of wood, and wood moves. A guitar built in a factory in China or Mexico in January may sit in a warehouse, spend two weeks on a cargo ship, pass through a distribution center, and arrive at your door in a completely different temperature and humidity environment. Every one of those transitions shifts the neck ever so slightly. That shift changes how the strings sit over the frets — sometimes by a meaningful amount.
Reviewers of the Jasmine S35 (a popular ~$90 entry-level acoustic) have flagged this phenomenon clearly. One owner, posting a note essentially titled “READ this before you write another bad review,” explained that the saddle (the white plastic or bone piece at the bridge that the strings rest on) often ships too high, and the truss rod — which you can think of as the guitar’s spine adjuster — is sometimes barely snugged down. The result: an instrument that’s technically functional but physically difficult to play. Lower the saddle a little, snug the truss rod, and that same guitar becomes genuinely enjoyable.
The same pattern appears in reviews of the Fender CD-60SCE (a $300–$400 acoustic-electric), the Donner 30-inch kids’ guitar line, and the Fender Redondo CE. Per aggregated owner reviews across Sweetwater and Guitar Center listings, one Redondo CE buyer measured action at just over 2mm at the 12th fret and noted the guitar was playable as-is but meaningfully improvable without fret work. A Donner buyer independently adjusted per-string intonation and lowered the action after arrival, calling the result “surprisingly good.”
The gap between “this guitar is bad” and “this guitar needed twenty minutes of attention” is one of the most consistent patterns in entry-level guitar reviews.
The Three Adjustments That Change Everything
1. Action: The Distance Your Fingers Have to Travel
Action is the height of the strings above the frets, measured most usefully at the 12th fret (the fret roughly in the middle of the neck). High action means your fingers have to press farther to fret a note, which causes fatigue, inaccuracy, and sharp intonation (more on that below). Low action means the strings sit close — easier to play, but if they’re too low, they’ll buzz against the frets when you play.
By the numbers — industry-standard action targets:
| Guitar type | Low E string at 12th fret | High E string at 12th fret |
|---|---|---|
| Acoustic | 5/64” (≈2.0mm) | 4/64” (≈1.6mm) |
| Electric | 4/64” (≈1.6mm) | 3/64” (≈1.2mm) |
These are guidelines, not laws. Sweetwater’s guitar setup resource notes that slide players often prefer higher action, while lead players doing lots of bending frequently go lower. But if your guitar measures significantly above these numbers out of the box, that’s your first clue.
On acoustic guitars, action is primarily controlled by two pieces: the nut (the slotted piece at the top of the neck, near the headstock) and the saddle (the piece at the bridge). The saddle is the easier of the two to adjust — you can sand the bottom of a bone or plastic saddle to lower it, or buy a replacement that sits higher. Acoustic Guitar Magazine’s guide to adjusting acoustic action recommends a feeler gauge or a set of string-action gauges (a few dollars at any hardware store) to get an accurate measurement before touching anything.
On electric guitars, most saddles are individually adjustable with a small hex (Allen) wrench — no sanding required. This makes electric guitar action adjustments genuinely beginner-friendly.
2. The Truss Rod: Your Neck’s Built-In Spine
Inside almost every modern guitar neck is a steel rod that runs its length. Tightening the truss rod (clockwise, in most guitars) straightens or back-bows the neck; loosening it (counterclockwise) allows the string tension to pull the neck into a slight forward curve, called “relief.” A small amount of relief — roughly the thickness of a business card at the 7th fret when you hold down the 1st and 14th frets simultaneously — is normal and desirable for acoustic players. Electric players often prefer slightly less.
Premier Guitar’s detailed truss rod guide emphasizes one thing above all else: small adjustments, then wait. The standard recommendation is no more than a quarter-turn at a time, followed by at least 15–30 minutes of rest before you re-check. Some builders recommend waiting 24 hours after a significant adjustment before final measurement, because the wood continues to settle.
The truss rod adjustment point is usually either at the headstock (under a small cover plate) or at the heel of the neck where it meets the body. On most modern guitars — including Fender, Squier, Yamaha, and the vast majority of budget acoustics — it’s accessible at the headstock with a hex wrench. Check your specific guitar’s manual or the manufacturer’s website before touching it.
Can you break the guitar? Yes, if you force it. If the truss rod won’t turn without significant resistance, stop and take it to a technician. A stripped or snapped truss rod is an expensive repair. But a quarter-turn on a guitar that’s simply under-adjusted? That’s a routine adjustment that owners do routinely, and Guitar World’s setup guide treats it as an expected beginner skill.
3. Intonation: Why Your Guitar Goes Out of Tune as You Move Up the Neck
You tune the open strings perfectly. You play a chord in first position — sounds fine. You move up to a barre chord at the 5th fret and it sounds slightly off. The culprit is almost certainly intonation: the precise length of each string needs to be calibrated so that the fretted notes stay in tune relative to the open string.
On electric guitars, you adjust intonation by moving each saddle forward or backward with a screwdriver — closer to the nut sharpens the fretted notes, farther away flattens them. You check by comparing the open string pitch to the fretted note at the 12th fret using a chromatic tuner. They should match exactly.
On acoustic guitars, intonation adjustment is more involved — it typically requires reshaping or replacing the saddle — and is generally a job for a technician unless you’re comfortable with the work.
Is a Professional Setup Worth It on a $150 Guitar?
This is the question that comes up constantly, and the answer is more nuanced than a simple yes or no.
A professional setup at most guitar shops runs $40–$80 as of mid-2026, covering truss rod adjustment, action correction at the nut and saddle, intonation, and a general inspection. On a $150 guitar, that’s a 25–50% cost increase. But consider the alternative: a guitar that’s hard to play discourages practice, which is the single biggest predictor of whether a beginner sticks with the instrument.
If X, then Y — the decision framework:
- If the guitar costs under $200 and you’re a total beginner: A professional setup is worth it. One session turns a frustrating instrument into an enjoyable one, and you’ll learn by watching. Ask the technician to walk you through what they’re doing.
- If you’re comfortable with basic tools and willing to learn: Do the action and truss rod adjustments yourself on electrics. For acoustics, attempt the saddle yourself but leave nut work and intonation correction for a tech.
- If the guitar costs $300 or more: A setup is table stakes. Fender, Yamaha, and every reputable brand at this tier builds instruments that respond well to a professional dialing-in. Acoustic Guitar Magazine consistently frames setup as “the purchase after the purchase” for any instrument in this range.
- If you’ve already adjusted and it still plays poorly: Fret leveling may be needed, which is firmly in professional territory.
Frequently Asked Questions
How do I know if my new guitar needs a setup? Measure the action at the 12th fret with a cheap feeler gauge or a string-action ruler. If it’s noticeably above the targets in the table above, or if open chords sound in tune but fretted chords don’t, a setup will likely solve the problem.
Can I adjust the truss rod myself or will I break the guitar? You can do it carefully. Use the correct hex wrench size (check your manual), turn no more than a quarter-turn at a time, and wait at least 30 minutes between adjustments. If the rod feels stuck or requires real force, stop and see a tech. Per Sweetwater’s setup guide, modern truss rods are designed to be adjusted — just not aggressively.
What does “action” mean and what height should it be? Action is the gap between the bottom of your strings and the top of the frets, measured at the 12th fret. Standard targets are roughly 2mm (low E) and 1.6mm (high E) for acoustics, and a little lower for electrics. These are starting points — adjust to taste from there.
Why does my guitar play in tune open but sound wrong when I fret chords? Almost certainly an intonation issue, possibly combined with action that’s too high (high action causes strings to go sharp when fretted because you’re bending them slightly as you press down). Address the action first; then check intonation with a chromatic tuner.
Is it worth paying for a professional setup on a $150 guitar? Yes, in most cases. A setup can transform a discouraging instrument into one you’ll actually want to practice on — and practice time is the only variable that actually matters for a beginner.
How long should I wait after adjusting the truss rod before checking the result? Minimum 15–30 minutes for small adjustments; 24 hours if you’ve moved the rod more than a half-turn total. Wood takes time to settle. Premier Guitar’s truss rod guide specifically warns against making multiple consecutive adjustments without waiting — you’ll overshoot.
The uncomfortable truth is that no guitar ships perfectly ready to play. The good news is that most of what makes a new guitar feel bad is fixable — often for free if you’re willing to learn, and for less than a dinner out if you’d rather have a tech handle it. Either way, the guitar you’re frustrated with is almost certainly not a lemon. It just needs a little attention.